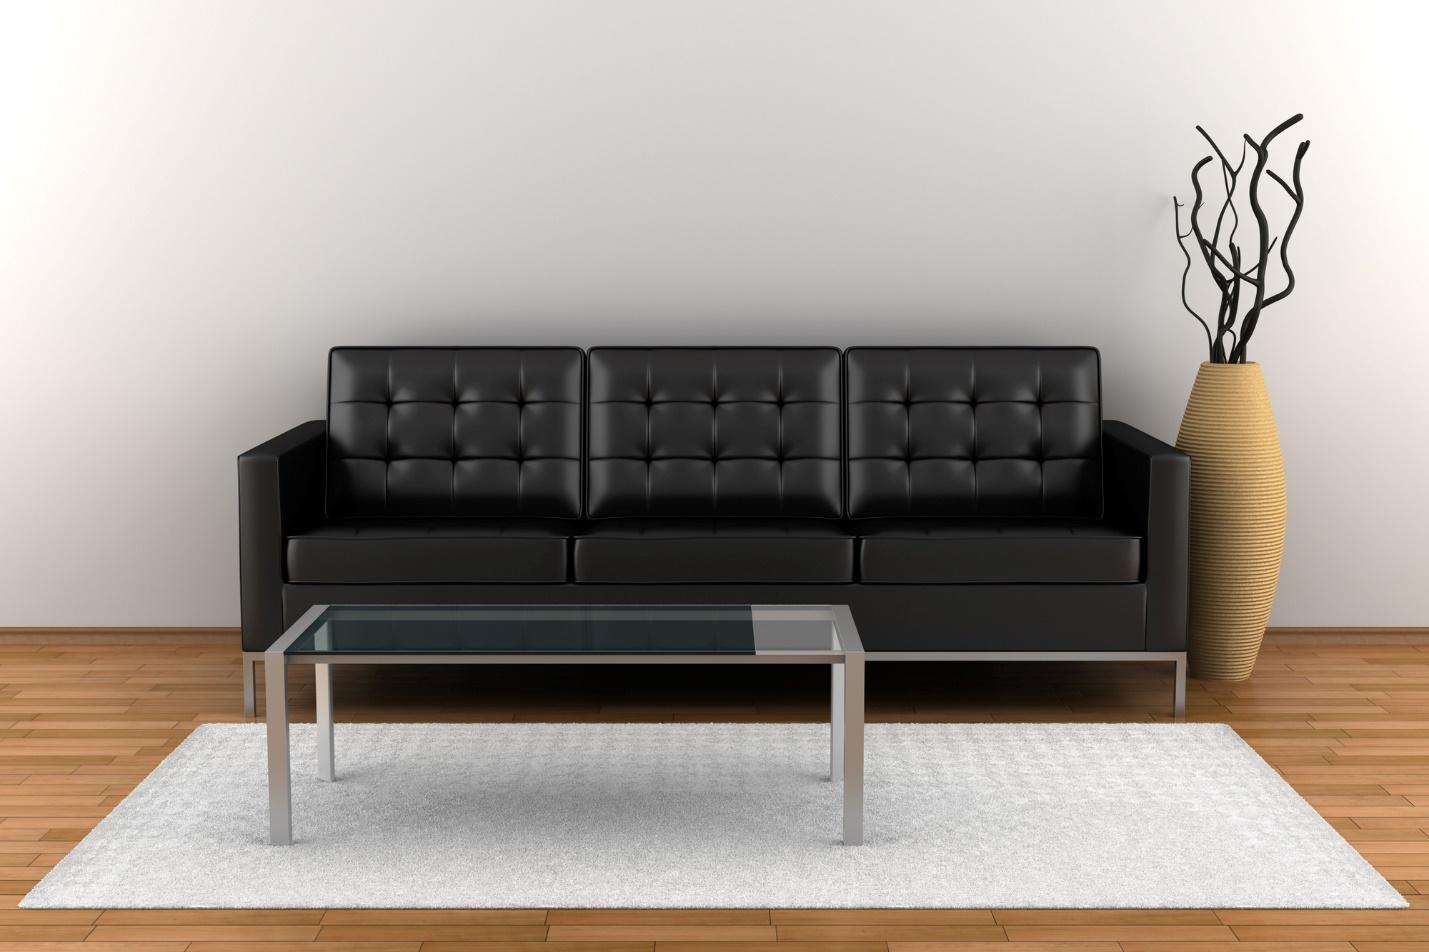
Leather can look fantastic when it’s new, but as the years drag on, it can age pretty poorly. Scuffs build up, cracks spread, and the general shine just fades away. However, buying a new piece of leather furniture isn’t always financially viable.
You could be looking at a price tag in the thousands for even a simple chair or sofa, which is why you might want to put some serious thought into reinvigorating your leather furniture. With just a few simple but fun to use tools, you can breathe life back into your leather furniture and make it as good as new.
Know Your Stuff
First off, you want to make sure you know exactly what kind of leather furniture you have. There are different kinds, each of which is commonly afflicted with different sorts of problems. They can also require very different restoration processes, so the last thing you want is to blindly charge in with a solution that ends up damaging your chair.
Aniline leathers fade faster than normal because they have no protective layer applied on top of the leather. They’re also prone to UV damage if left out in the sun.
Top-coated leathers have a uniquely opaque protective coating placed on top of the leather, meaning that what you see isn’t really the color of the leather underneath. It’s fairly common for top-coated leathers to split and scratch.
Nubuck leather is a particular variety of Aniline leather that’s been sanded down to create a very particular texture. However, this also leads to Nubuck being very easy to stain.
Gather the Materials
In most cases, you’re going to need a cleaner, conditioner, heat tools, leather furniture dye, grain paper, and microfiber cloth. Many of these can be found in convenient leather and vinyl repair kits, which often come with instructions on exactly how to use them. When picking leather dye, make absolutely sure that you’ve got the right kind for your variety of leather.
Prepare the Leather
The first step of the actual restoration is to carefully clean the surface of the leather with leather cleaner. If you don’t have that available, you can make your own version at home with a solution of warm water, a couple drops of Castile or liquid dish soap, and a few drops of vinegar.
Using a spray bottle, apply the mixture to the affected areas. Then, clean the mixture off with a cloth. Many first-time leather restorers are often surprised to find that this alone is enough to get rid of some minor scratches.
Once the cleaning is done, apply conditioner. Make sure you’re using a leather conditioner and not a general variety (especially not hair conditioner). Follow the directions on the conditioner and spread a thin layer across the leather using the cloth.
Don’t worry too much about it being absolutely perfectly even because the next step is to really get that conditioner down into the leather. Massage it in with circular motions until the leather won’t absorb any more.
Once that’s done, you just need to wait for a few hours. For pieces that have particularly serious damage, you may need to wait longer than that.
Handle Cracks, Tears, and Scuffs
For moderate cracks, tears, and burns, you’ll need adhesive or filler. Follow the directions on the product and apply to the affected area.
For larger cracks, tears, and burns, you may need to do some extra legwork first. If the edges of the leather around the affected area are damaged, you should trim those down first. A subpatch may be placed to make the process easier.
When it comes to scrapes and scuffs, you’ll need a different approach entirely. Small scratches can be easily dealt with by fillers, whereas deep damage will likely require a base coat and then the application of fillers or protectants.
Scrapes and scuffs are one of those areas where knowing exactly what kind of leather you have can come in pretty handy. Aniline leather is fairly easy to mend if you have a hair dryer. Simply continuously apply heat while rubbing conditioner into the affected area. On the other hand, if you’ve got Nubuck leather, then you want to make sure you have a specialized Nubuck cloth to go along with it.
Dye It
To make the leather look brand new, the last and most important step is to dye it. Once again, this is one of those places where you should know exactly what sort of leather you have. Consider doing some online research to make sure you get the exact right tool for the job.
Top-coated leather, as was mentioned before, has a color that is distinct from the leather below. When dyeing top-coated leather, you need to make sure the layer is enough to make the color vivid again, but thin enough to not change the color completely.
Aniline leather (including Nubuck leather) need to have customized leather dyes, so don’t try to treat them with a general leather dye. Furthermore, Aniline leather dye and Nubuck leather dye are distinct, so don’t get the two confused.
Once you have the right dye, the process is pretty straightforward. Apply with a cloth and allow the leather to dry between layers. Several layers will likely be necessary, even as many as four if the discoloration is significant. However, proper care can result in a product that will last years, if not decades.


