

Owning a car comes with many responsibilities, among them is knowing how to thoroughly refinish it from the chassis down to the tires, lights, and the interior. Here are six crucial tips when it comes to auto refinishing your vehicle.
Tip 1: Prepare Your Workspace
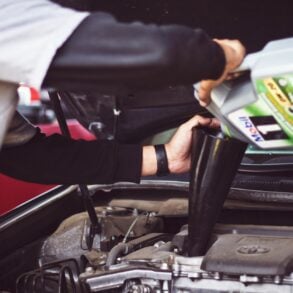
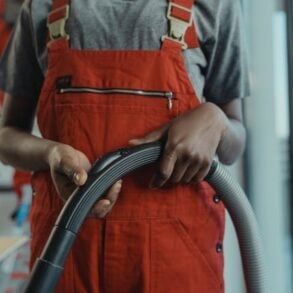
It is imperative that you thoroughly clean your workspace and eliminate any dust or debris. A workspace filled with dust can severely limit your refinishing, causing blemishes to the paintwork. Ideally, you’d want to fit a dust extractor to help contain dusty areas within your refinishing station. If you decide to work outdoors, ensure that the weather is suitable and conducive for painting. Opt to work when the sun is out and avoid trees to prevent debris from dropping onto the car.
Tip 2: Prepare Plastic Surface Correctly Before Auto Refinishing
When coating a plastic surface or any surface of your vehicle, it is essential to prepare the body before painting. What you need to do is to separate all plastic parts before carrying out an auto refinish.
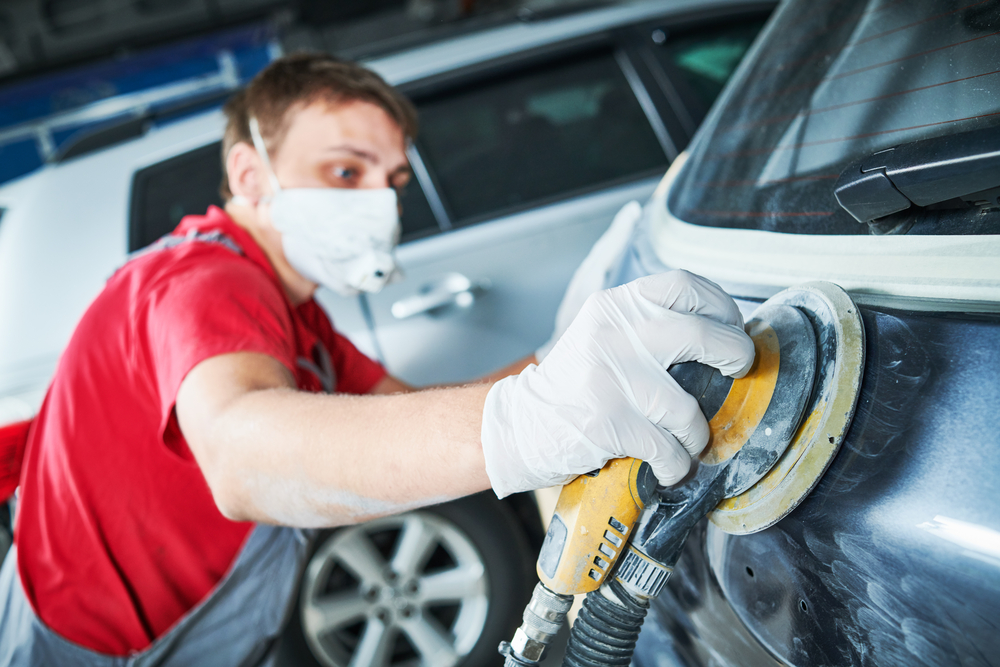
Components that are worn down or scratched can be smoothed out with filler to correct any irregularities before auto refinishing. Nonetheless, all plastic parts should be sanded to help smooth out the surface and remove previous paint and imperfections depending on the condition. Sanding also helps expand the plastic’s surface area, leaving more room for paint to bond well.
Tip 3: Use Adhesive When You’re Painting Plastic
A plastic adhesion promoter can help create a lasting paint job when coating plastic parts of your vehicle. The adhesion comprises chemical compounds that strongly bond onto the surface and pores of a plastic layer. This will make it simpler and more effective when adding new coasts onto the surface. Also, a plastic adhesion promoter should be used only on clean plastic. Otherwise, it could end up damaging your vehicle, especially if coated on top of previous refinishing treatments or primer.
Tip 4: Deal with Scratches
If you’re like most vehicle owners, your car is bound to have a few scratches. When auto refining your vehicle, a good tip is to deal with scratches to help bring out your vehicle’s new color more effectively.
Tiny scratches can be easily rectified without additional assistance. All you need to do is use a spray pen or small spray gun to treat scrapes and retouch on the paintwork. You’ll need to sand the region with a reliable abrasive or a mechanical sander.
Tip 5: Learn to Effectively Primer Your Car
Before priming, you need to ensure that you’re using the right technique to prevent a shoddy paint job. If your paint skills are a bit rusty, it is advisable to practice on a piece of scrap metal or paper. Ensure to hone your technique by learning to spray side to side to create an even and smooth coating.
When priming, begin by spraying the roof coming down. It will take about three coats max to cover the surface. Note, the curing times for each primer are mentioned on the can; for some, it can take between 20 and 60 minutes to cure. Also, you’d always want to give the primer time to dry before moving to the next coat. Once you’re done priming, always re-sand your car to remove the powdery impressions and wipe with a clean rag doused in thinner. Take caution as thinner can remove the primer, so only use a little.
Tip 6: Learn How to Preserve Your Car’s Paint JobAfter a beautiful auto refinishing job, you’d always want to preserve your car’s paint job to the best of your capabilities. Wax and conditioners should be your vehicle refinishing companions as they help maintain and add onto your car’s shine. However, avoid abrasive products as they are sure to damage your car’s paint and leave swirl marks. Non-abrasive products work well to eradicate grime, grease, and stubborn marks leaving your car’s surface looking nice, clean, and polished.